Introduction
This comprehensive guide will teach you everything you need to know about Install uPyCraft IDE on Windows. You'll learn step-by-step instructions with code examples and circuit diagrams.
What You'll Learn
- Hardware components and wiring
- MicroPython code implementation
- Testing and debugging techniques
- Practical examples and use cases
Required Components
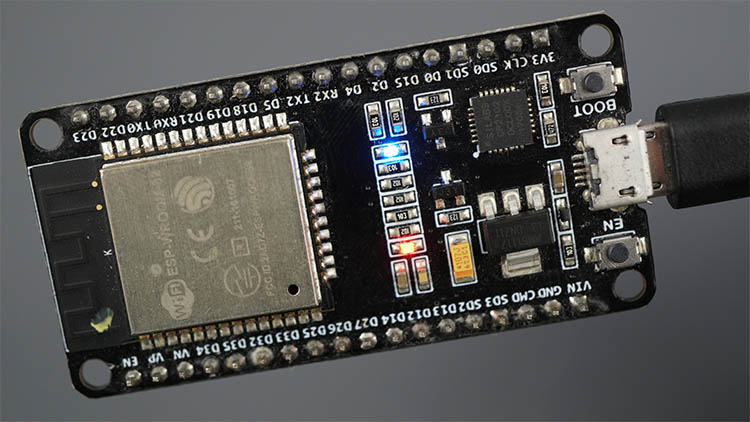
- ESP32 or ESP8266 development board
- USB cable for programming
- Jumper wires
- Breadboard
- Additional components specific to this tutorial
Code Implementation
Here's the complete MicroPython code for this project:
# MicroPython Code Example
from machine import Pin
import time

# Your code here
print("Hello from Passionbots!")

# Main loop
while True:
    # Implementation
    time.sleep(1)
Testing
Follow these steps to test your implementation:
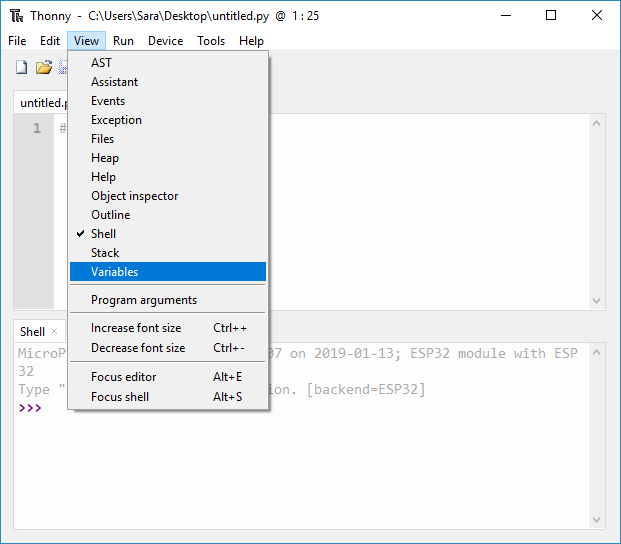
- Upload the code to your ESP32/ESP8266 using Thonny IDE
- Open the Serial Monitor to view output
- Verify the expected behavior
- Troubleshoot any issues using the tips below
Troubleshooting
- Make sure your board is properly connected via USB
- Verify that MicroPython firmware is installed
- Check all wire connections match the circuit diagram
- Restart the board if code doesn't run automatically
Next Steps
Now that you've completed this tutorial, you can:
- Explore related tutorials on our tutorials page
- Modify the code for your own projects
- Combine multiple sensors and components
- Share your project with the community